
We occasionally get the opportunity to catch the Radio Ranger doing what it does best, catching fish! This time we have the rare chance to see a birdseye view of the pristine outdoors and wildlife Michigan has to offer to adventurers. We also observe a keen Rc Fisherman catching prized Walleye!
Archive | Radio Ranger Rc Fishing Boat RSS feed for this section


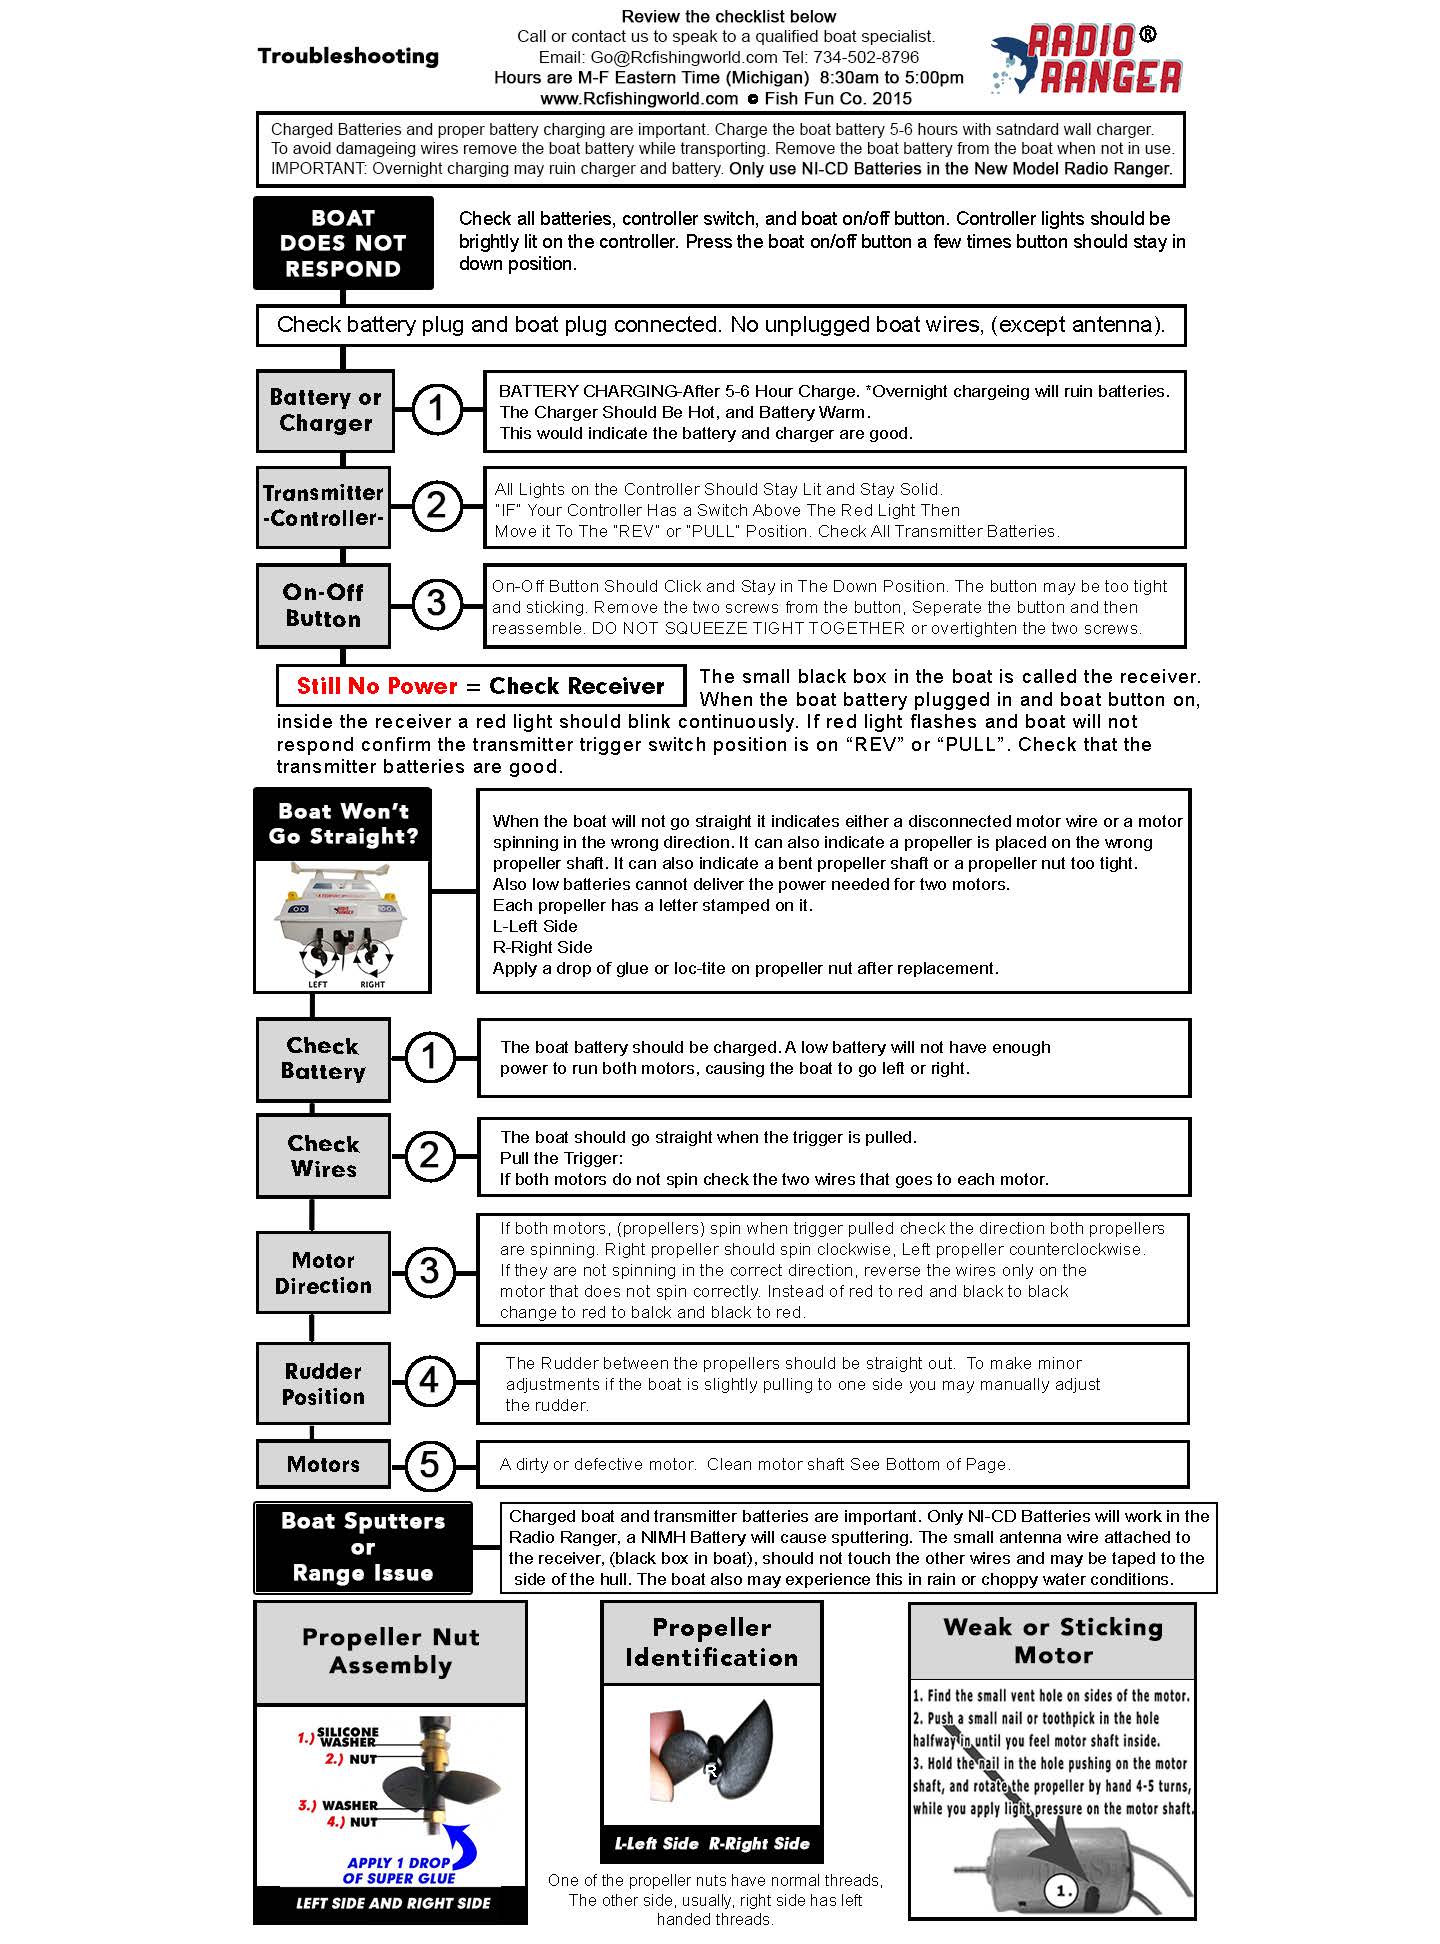
Rc Fishing Boat Troubleshooting 101-My Radio Ranger has a problem, what do I do next?
16 DecMy Radio Ranger is not working, what do I do next? Review the troubleshooting sheet below for the most common problems and simple solutions. Click Here Troubleshooting to Print or View a Full Size Troubleshooting Sheet.
Proper Battery Charging-Transmitter Batteries-Unplugged or Reversed Wires are the most common issue you may have with a Radio Ranger Rc Fishing Boat. First charge the boat battery 5-6 hours (not overnight). The charger should be a little hot and the battery kind of warm. If not then the battery or charger could be defective.
The on/off button on the boat has a thick rubber grommet inside that may become stuck that can cause the boat to turn off itself if the button is assembled too tight. The button can be separated into two pieces to loosen it and then reassembled, do not tighten too tight.
Make sure the transmitter batteries are correctly installed, lights on the controller should be solidly lit. One bad battery in the controller will not be strong enough to get a good signal with the boat, if you have a bad transmitter battery it can effect the range and performance. A good idea is to tape your receiver antenna on the side of the hull, (the silver wire inside the boat) away from the rest f the wires. Never pull the antenna or try to extend it to outside the hull. while addressing reception, (a good signal) if the antenna wire is pulled it may become unsoldered inside the receiver.
The older Radio Ranger, Pre-6/2015 does not have a setting on the transmitter. On the new version Radio Ranger make sure the switch above the red light is on the “REV” position. The switch sets the trigger position, you can pull the trigger in or push the trigger to go forward, (the boats do not have reverse).
If the boat operates but will not go straight most likely the wires on one of the motors are backwards. Looking at the back of the boat from behind the boat the right side propeller should spin clockwise, and the left side should spin counter-clockwise. If a motor spins the wrong way just unplug the wires on that motor and reverse the wires. Keep in mind each propeller has a small letter on it, L-Left side, and R-Right side.
When changing a propeller one of the propeller nuts are left handed threads, usually the right side propeller nut. Turn that nut to the left to loosen it.
Click here to see a full page copy of the Troubleshooting sheet. Troubleshooting
After Troubleshooting your boat and you still are experiencing one of the problems you may need a new receiver or transmitter. Parts are available at: Rc Fishing World Parts Page
Share this:

Radio Ranger Maintenance Tip #1 Oil Propeller Shafts and Replace Propellers
3 Apr

Radio Ranger Propeller Shaft Removal
YOU WANT TO KEEP YOUR NEW RADIO RANGER RC FISHING BOAT IN TIP-TOP RUNNING CONDITION.
Oiling the propeller shafts occasionally will keep things running smoothly.
Although dripping oil down the shaft is ok too, you may remove the shaft, clean and oil it. The main thing to remember is not to remove the C-ring, putting that back on is difficult and getting it to stay on rarely works.

Radio Ranger Propeller Nut Assembly
The propeller assembly consists of 4 main parts. #1 Silicone Washer, #2 Dog Gear, #3 Washer, #4 Nut. A good idea is to apply a small drop of Super Glue or Loc-Tite on the propeller nut to keep it tight at all times.

Radio Ranger Propeller Rotation
Each Propeller turns in a different direction. When replacing propellers or the propeller nuts there are two things to remember. #1 is each propeller has a letter stamped on it to identify which side it belongs, L-for Left Side, and R-for Right Side. #2 to keep in mind also it that each of the propeller nuts are different. One of the propeller nuts have left handed threads. For those that are not familiar with left handed threads, instead of spinning to the left to loosen it, spin it to the right. So if one of your propeller nuts seems like it is tightening instead of loosening then just spin the nut the other way. The same goes for tightening the nut, instead of turning the nut to the right to tighten it turn it to the left.
Share this:


TOP RATED IN REVIEWS!
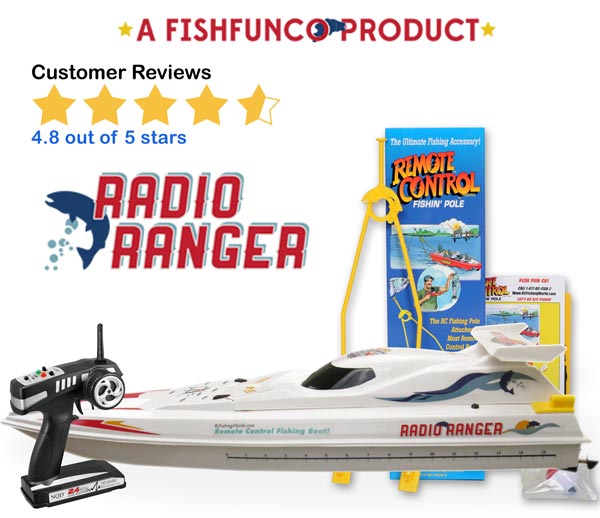
Shop Now
Top Rated Posts
-
Florida Rc Bass Fishing Rc Style
Summer Bass Rc Fishing He looks like he’s been fishing his whole life, and he makes it look so easy too. When you’re in control as in remote control you are the boss
-
Walleye Fishing Radio Ranger Style
This time we have the rare chance to see a birdseye view of not only the pristine outdoors and wildlife Michigan has to offer. We also observe a keen Rc Fisherman catching prized Walleye
-

Chum-Create a Fish Feeding Frenzy Rc Boat Style with The Bait Bucket
When you just can’t locate the fish just have the fish come to you with the Fish Fun Bait Bucket.
-

Radio Ranger Maintenance Tip #1 Oil Propeller Shafts and Replace Propellers
YOU WANT TO KEEP YOUR NEW RADIO RANGER RC FISHING BOAT IN TIP-TOP RUNNING CONDITION.
-
FISH FUN CO.’S RADIO RANGER NEW DESIGN FOR 2015
FISH FUN CO.’S RADIO RANGER NEW DESIGN FOR 2015 The new look is going to Excite and Make the Fishing Experience even More Thrilling! The Radio Ranger Deserved the New Custom Decal Set. Located on the Port Side (left side) the large 15″ Ruler to measure the Fish you Catch! Every time you Catch a Fish, […]
Rc Fishing Tackle!

Follow us in Twitter

Watch Fish Fun Co. Rc Fishing Video’s on YouTube!

CLICK Watch Fish Fun Co. Rc Fishing Video's on YouTube!
Featured Rc Boat
Visit the website
